EzCad2UNI User’s Manual
To draw a dot in the working space is one of the easiest drawing operations. When selected,
the mouse pointer will be changed into a cross feature, and users just press the left button of the
mouse in an appropriate place, a dot can be drawn. Also users can draw more dots by pressing the
left button, when it is finished, user can press the right button of the mouse to end the drawing
command, and then the last dot drawn is displayed as selected object.
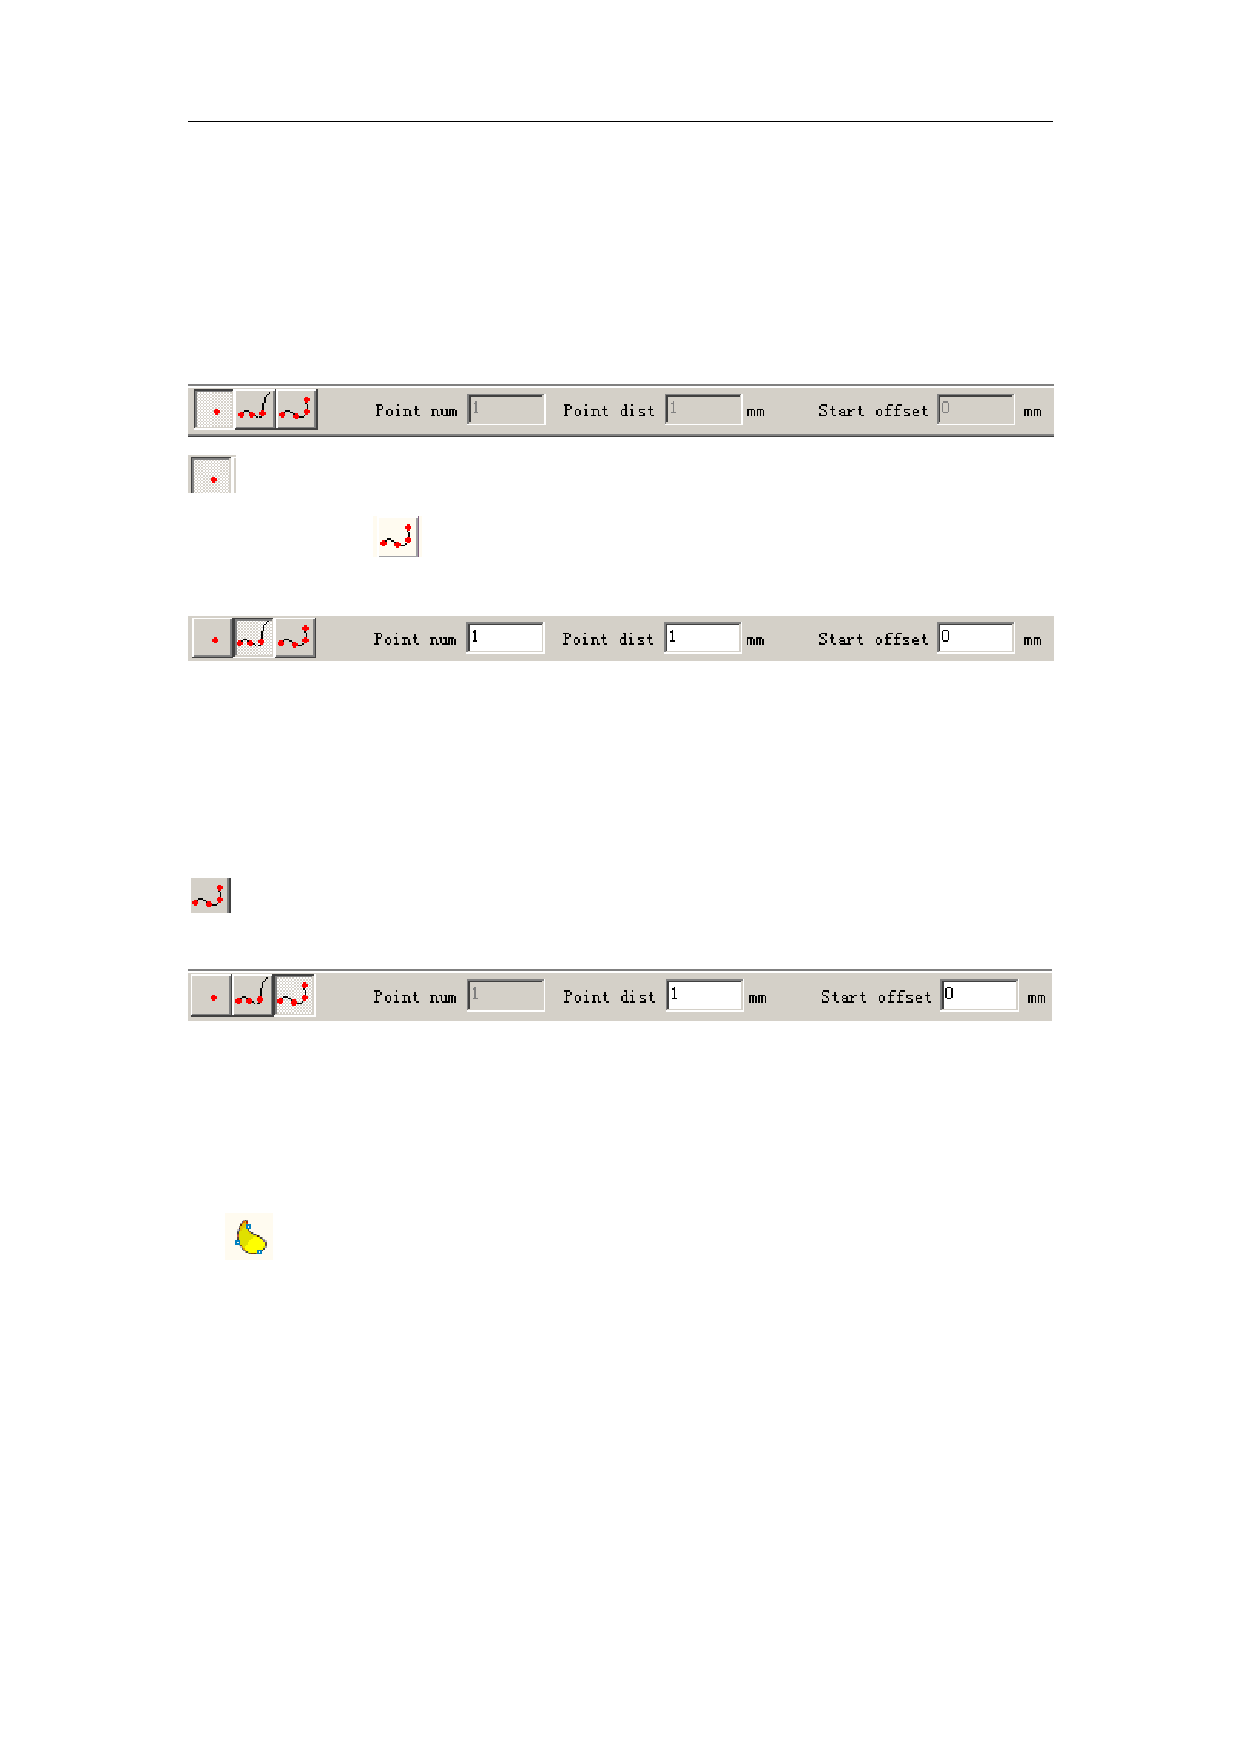
Under dot drawing mode, the Present Command Toolbar will be displayed as:
used to draw a dot
If users press button
, a set of dots with equal distance will be placed along a curve. Click
this button, the tool bar becomes:
Point num: the amount of dots settled on the curve
Point dist: the distance between the two bordered dots
Start Offset: the distance between the first dot and the beginning of the curve
Note: if it can’t carry all the points, system will put remaining points from the start of the curve
till finish all the points use set in ‘Point num
’use can set point distance as user need, system will calculate point num as the point
distance.
4.2 Curve
To draw a curve, users can select command “Curve” in the Draw Menu or click the
icon . (Figure 4-2)
24
All rights reserved

